

Summary
Shrinkage and color bleed cause most apparel refunds, and both can be caught before bulk with a washing machine, a tape measure, and a white cloth. Wash and dry the sample the way the care label will say, re-measure key points of measure, record the shrinkage percentage, check for color transfer, rub-test for crocking and pilling, and check for torque. Write the tolerance into the spec (for example, maximum 5% after three washes), require results before bulk approval, and use a lab when the risk justifies it.
The Sample Looked Perfect. Then Someone Washed It.
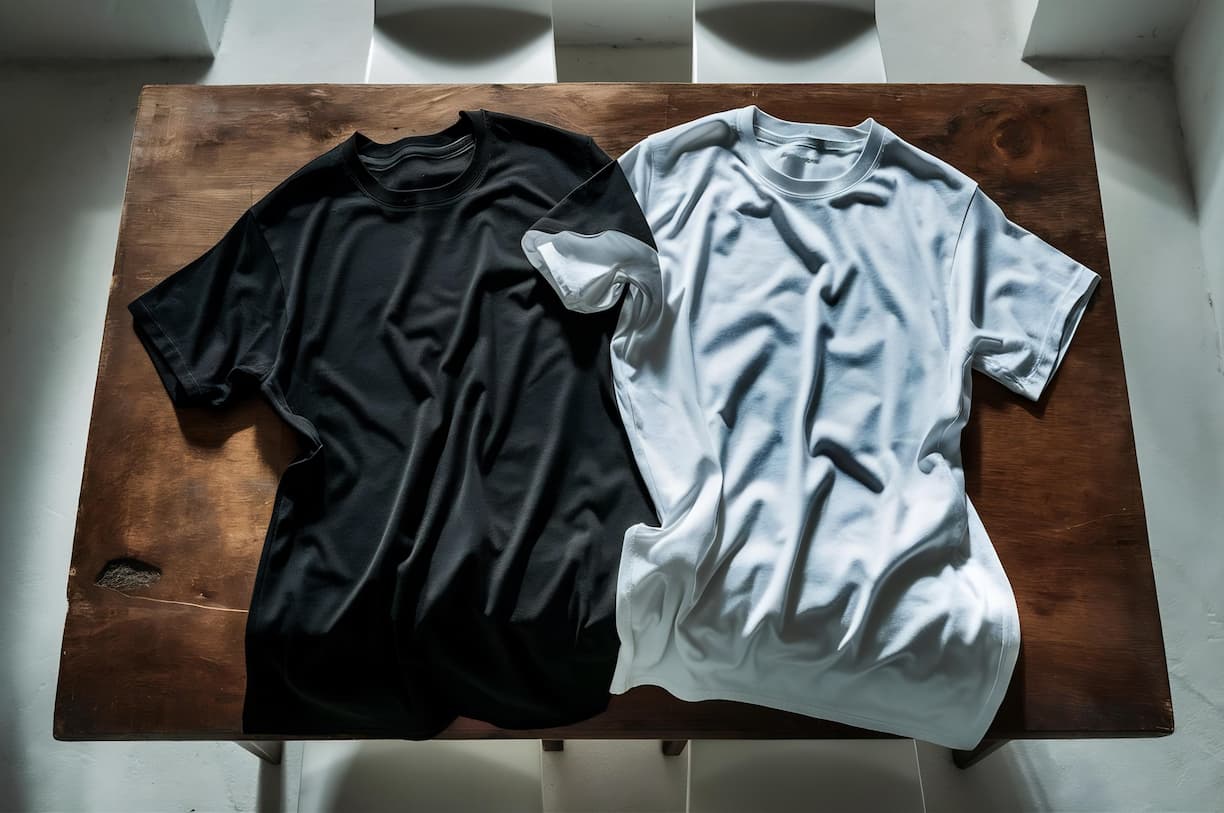
You approve a sample. It fits, the color is right, and the hand-feel is lovely. Bulk arrives, goes on sale, and the first reviews read: “shrank a full size,” “turned my whites pink,” and “pilled after two wears.”
A sample is cut, sewn, pressed, and posted. It has never been tumble-dried, never been washed with a towel, and never been worn and rubbed. It shows you the garment on its best day and tells you almost nothing about how it behaves once a customer owns it. Shrinkage and color bleed are the two failures that generate the most refunds. Pilling is a close third, and a brand with no test data has nothing to fall back on when it happens.
The good news is that most of this can be tested at home for the price of a wash cycle. This guide gives you a protocol you can run without a lab, the tolerances to write down, the formal tests worth knowing for when a lab is justified, and a record sheet to print. It’s built for brands ordering 50 to 200 units, where sending every fabric to a lab would cost more than it saves.
Why You Should Wash a Sample Before Approving It
Yes, wash it. Here is why.
Fabric relaxes. Knitted and woven fabrics are stretched and held under tension during manufacture. Water, heat, and agitation let the fibers relax back, and the garment shrinks. The amount left in the fabric after finishing is called residual shrinkage. It’s a property of the fabric, and it shows up the moment someone washes it.
Finishes can wash out. Some fabrics are treated to behave well: mechanically pre-shrunk (the process called sanforizing, which compresses woven cotton to reduce shrinkage) or treated with a resin finish that gives wrinkle resistance and stability. A finish may hold in the first wash and fade over several. That’s why testing after three washes tells you more than testing after one.
If you want to understand how finishing choices decide this behavior in the first place, our guide to making fabric walks through the production stages. What follows is the other half: how to verify the result.
What You Need
Nothing special:
- A tape measure, a fabric marker, a washing machine, and a dryer (or line, if the care label says so)
- A white cotton cloth (a plain white t-shirt or tea towel)
- A kitchen scale accurate to 0.1 g for the GSM check
- The printed record sheet at the end of this guide
- The sample, made from the real bulk fabric where possible. A swatch of a similar fabric proves little.
Test the sample, as it will be cared for. If your care label says “machine wash cold, tumble dry low,” that is the cycle.
The Garment Wash Test Protocol, Step by Step
A proper garment wash test protocol is just a repeatable routine. The numbered steps below can be run in an afternoon.
Step 1: Condition and measure before washing.
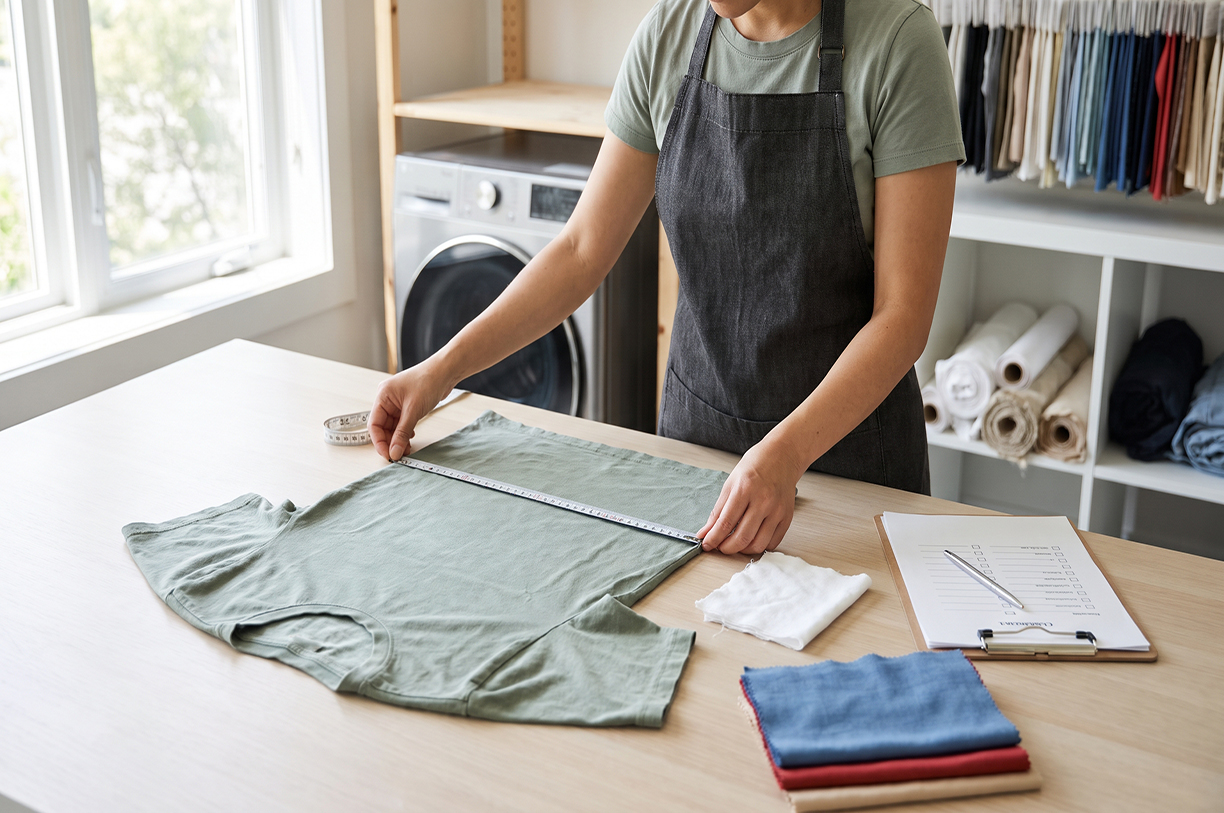
Lay the garment flat on a table, smoothed but not stretched, and let it rest. Measure the key points of measure (POM) you care about: chest width, body length, sleeve length, hem width, and for bottoms the waist, inseam, and leg opening. Mark each measuring point with a dot of fabric marker so you measure the same spot every time. Record the numbers.
Step 2: Check the weight.
For GSM verification, cut a square of fabric 10 cm by 10 cm (from a spare piece, not the garment), weigh it in grams, and multiply by 100. That gives grams per square meter. If the spec says 180 GSM and the fabric weighs 150, you’ve found a problem that no amount of washing will reveal.
Step 3: Mark the side seam for torque.
On a knit top or fitted garment, mark where the side seam meets the hem. After washing, the seam may drift round the body. This twisting is called torque, and it makes a garment hang crooked.
Step 4: Wash and dry per the intended care label.
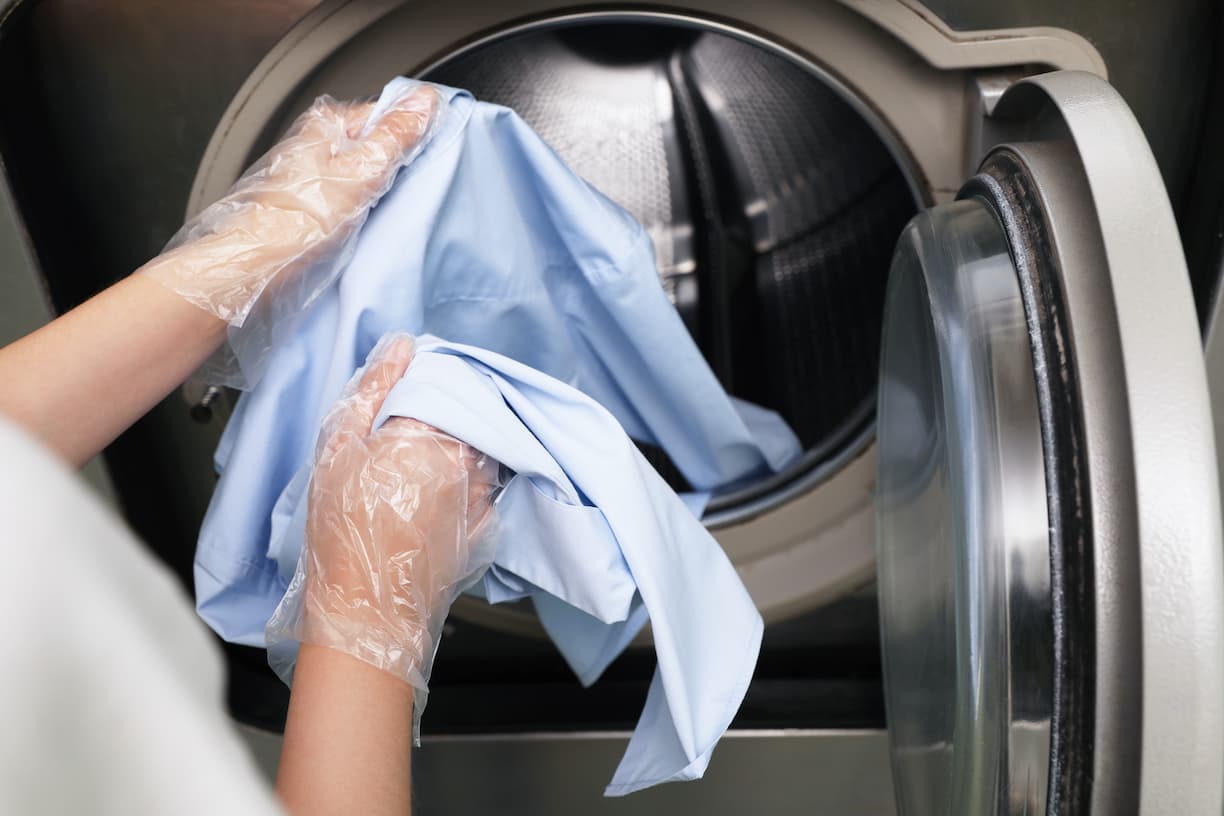
Wash the sample with a white cotton cloth in the same load. Dry it the way the label will say. Don’t iron or press it into shape afterwards.
Step 5: Rest, then re-measure.
Lay it flat again, smooth without stretching, and measure the same points. Record them.
Step 6: Calculate the change.
The formula is simple:
Shrinkage % = (before − after) ÷ before × 100
A worked example on a cotton jersey t-shirt:
| Point of measure | Before | After 1 wash | After 3 washes | Shrinkage after 3 |
| Chest width | 20.0″ | 19.6″ | 19.4″ | 3.0% |
| Body length | 27.5″ | 26.7″ | 26.2″ | 4.7% |
| Sleeve length | 8.25″ | 8.0″ | 7.9″ | 4.2% |
Look at the body length: 4.7% sounds small, but on a 27.5-inch garment, that’s 1.3 inches. Repeat steps 4 to 6 for three wash-and-dry cycles, because the first wash rarely tells the full story.
Step 7: Check for torque.
Lay the garment flat. Measure how far the side seam has moved from where it started as a percentage of garment length. As a working guide, many brands specify no more than about 5%, though tighter limits apply to premium basics.
Step 8: Check for color transfer.
Look at the white cloth that went through the wash. Any tint means dye is bleeding. Hold it against a white sheet of paper in daylight and judge it honestly.
Step 9: Rub test for crocking.
Crocking is dye transferring from the fabric to something else by rubbing. Take a dry white cloth and rub the dyed or printed area firmly, about ten strokes. Repeat with a damp cloth. Check the cloth for color. Dark, saturated shades and heavy prints are the usual offenders, which matters if you’re adding decoration through apparel customization, because a print can crock even when the base fabric doesn’t.
Step 10: Rub-test for pilling.
Rub the fabric against itself, or against a piece of the same fabric, with moderate pressure for about 100 strokes. Then look at the surface in raking light. Small balls of fiber mean the fabric is likely to pill in wear. It isn’t a standard test, but it works as a comparison: run the same rub on a garment you already know wears well, and judge your sample against it.
What Tolerance to Write Down
A test result is only useful if you’ve agreed in advance what counts as a pass. Put the limits in the spec, in writing, before sampling. Typical starting points:
| Property | Example tolerance | Notes |
| Residual shrinkage (knits) | Max 5% length and width after 3 washes | Tighter for fitted or premium styles |
| Residual shrinkage (wovens) | Often lower, around 2-3% | Sanforized cotton is typically much lower |
| Torque | Max ~5% | Check on knits and twill. |
| Color transfer in wash | No visible staining on white cloth | Judged against a standard grayscale in a lab |
| Dry crocking | Grade 4 or better (of 5) | Dark colors and prints are harder. |
| Wet crocking | Grade 3 or better (of 5) | |
| Pilling after rubbing | Grade 3-4 or better (of 5) | Depends on the product |
How to Require the Results Before Bulk Approval
 Running the test is half the job. The other half is making it binding. Three habits do it:
- Put it in the PO and the spec. Add a line such as “Bulk release is subject to written wash-test results on bulk fabric within the agreed tolerances. “No results, no cutting.
- Test the bulk fabric, not the swatch. Fabric lots differ. A shrinkage result from a lab-dip-era swatch doesn’t tell you what the delivered roll will do. Ask for the fabric before cutting, and test a piece from it.
- Seal the result with the sample. Keep the approved, washed sample alongside the sealed PP sample, and record both on the same sheet. If bulk fails later, you can show exactly what you approved and what was measured. Any good cut-and-sew partner should be comfortable working to written pass limits, and it’s worth asking up front how they handle fabric that falls outside them.
If the sample fails, you have three options: adjust the pattern to allow for the shrinkage (add length and width to compensate), switch to a more stable fabric, or ask the mill about pre-shrinking. Any of those costs far less now than after cutting.
When a Home Test Isn’t Enough: Formal Methods and What They Cost
Home testing finds the big problems. It doesn’t give you the numbers a retailer, a buyer, or a court might ask for. For that, labs use standard methods, and it helps to know their names:
| What you’re checking | Standard method | What it is |
| Fabric shrinkage | AATCC 135 | Dimensional change of fabrics after home laundering |
| Garment shrinkage | AATCC 150 | Dimensional change of garments after home laundering |
| Torque / skew | AATCC 179 | Skewness change after laundering |
| Color bleeding in washing | AATCC 61 | Colourfastness to laundering (accelerated) |
| Crocking | AATCC 8 | Colorfastness to crocking (rubbing) |
| Pilling | ISO 12945-2 (Martindale) | Pilling resistance, rated 1-5 |
| Fabric weight | ASTM D3776 | Mass per unit area |
Indicative costs: commercial labs often charge somewhere in the range of tens to low hundreds of dollars per method, per fabric. A small multi-test panel on one fabric can land in the low hundreds. Prices vary by lab, country, and turnaround, so request quotes rather than relying on these figures.
When does a lab make sense?
- You’re selling to a retailer that requires test reports
- The product is for children or makes performance claims
- The fabric is white, very dark, or heavily saturated, where bleed or crocking is highest
- It’s a high-value garment, or the run is large
- A home test came back borderline, and you need a defensible number
For a first order of 50 to 200 units in a basic, well-known fabric, the home protocol is usually proportionate. For anything where the cost of failure is a recall, a rejected retail order, or a damaged reputation, a lab report is cheap insurance.
Your Printable Test Record Sheet
Reduce and reuse concept. Preparing clothes for swap. Waste problem in fashion industry. Vertical storage of clothing, tidying up, garments declutter and sorting. Top view. Copy spase
Copy this onto one page, fill it in for every fabric, and keep it with the order.
| Field | Entry |
| Style / fabric / color | |
| Fabric composition and finish | |
| Spec GSM / measured GSM | |
| Care label wash and dry instructions | |
| Date tested / tested by |
Shrinkage
| POM | Before | After wash 1 | After wash 3 | Shrinkage % | Tolerance | Pass / fail |
| Chest width | ||||||
| Body length | ||||||
| Sleeve length | ||||||
| Other: |
Other checks
| Check | Result | Tolerance | Pass / fail |
| Torque (% of length | |||
| Color transfer onto white cloth | |||
| Dry crock | |||
| Wet crock | |||
| Pilling after rub | |||
| Seams, prints, and hand-feel after wash |
| Decision | Approve/Adjust pattern. Change fabric/Send to lab |
| Signed (brand) / date | |
| Signed (factory) / date |
Conclusion: A Wash Cycle Is the Cheapest Insurance in Apparel
Sampling tells you how a garment looks. Wash testing tells you how it lives. Founders who skip the second find out in public, through refunds, reviews, and a customer’s ruined laundry. The ones who don’t skip it find out on a Tuesday afternoon, with a tape measure and a white cloth.
The routine is short: measure, wash and dry as the label will say, measure again, calculate, and check for bleed, crocking, pilling, and torque. Write the tolerances into your spec, require written results on bulk fabric before cutting, and move up to a lab when the stakes justify it. Most of the refunds you’d otherwise have to pay for are caught by that one afternoon.
If you’re planning a custom run and want testing and written approvals built into the process from the start, talk to us about apparel customization.
Frequently Asked Questions
Should I wash a sample before approving it?
Yes. A sample that has never been washed shows you the garment before shrinkage, color bleeding, twisting, or pilling can appear. Measure it, wash and dry it the way the care label will instruct, and re-measure and check for color transfer before you approve. It’s the cheapest way to find problems before bulk.
What shrinkage is acceptable in garments?
It depends on the fabric and fit, so agree on a number in writing. A common starting point for knits is a maximum of about 5% in length and width after three washes, with lower limits often applied to woven fabrics and fitted or premium styles. Test after several washes, not one.
How do I test if fabric color will bleed?
Wash the sample with a white cotton cloth, using the care-label cycle, and check the cloth in daylight. Any tint means dye is transferring. Also rub a dry and then a damp white cloth over the dyed or printed area to check for crocking. For a formal result, labs use AATCC 61 for washing and AATCC 8 for crocking.
What is a pilling test?
It checks how likely a fabric is to form small balls of fiber when rubbed. In a lab, the Martindale method (ISO 12945-2) rubs fabric under controlled pressure and rates the surface from 1 to 5. At home, rubbing the fabric against itself for about 100 strokes and comparing it with a garment you know wears well gives a useful rough check.
Do I need lab testing for a small order?
Not always. For a first run of 50 to 200 units in a familiar fabric, a careful home protocol usually covers the main risks. Use a lab when a retailer requires reports, the product is for children or has performance claims, the color is white or very dark, or a home result is borderline.


